This article is intended to introduce the kit and some of its features. It also serves as a supplement to the instruction booklet.
This model being short-run, experience is required for assembly.
Parts breakdown:
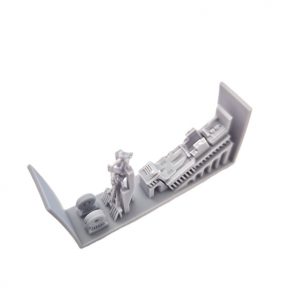
Let begin with the kit parts breakdown, starting from the rear.
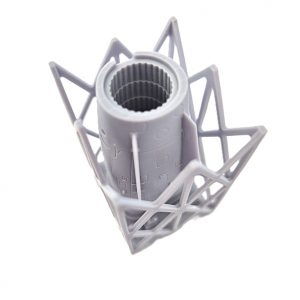
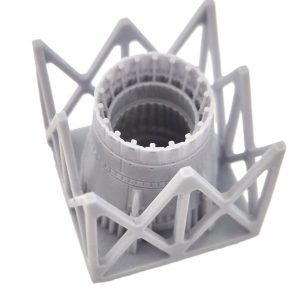
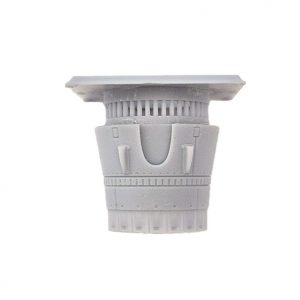
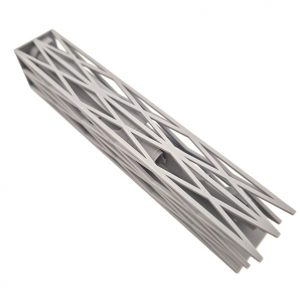
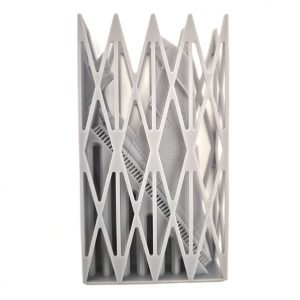
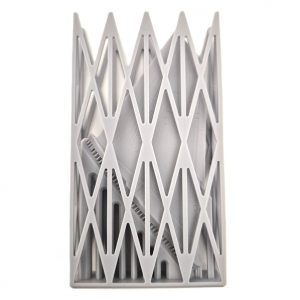
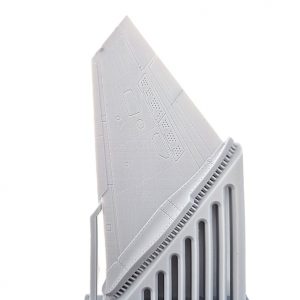
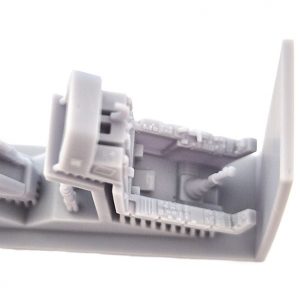
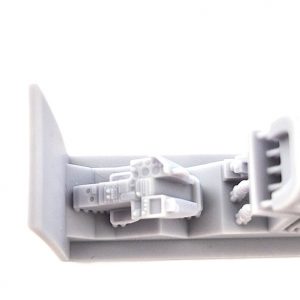
The rear section is separated from the rest of the fuselage, the ventral fins and thermal shield are printed with. Pay attention of the gap between the internal and external support rows on the nozzle section
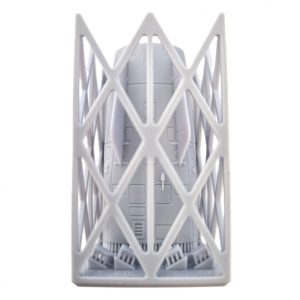
Let’s continue with the fuselage. It consists of a bottom and two half-fuselages.
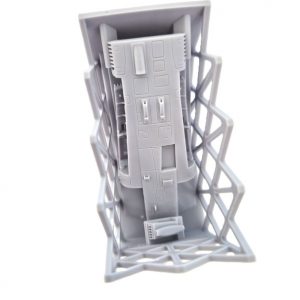
This parts breakdown allows to achieve the correct depth of the train wells. Take into account the thin thickness of the fuselage halves at this location. Never force the parts, prefer a light sanding at the joint for fitting the parts
Pay attention to the small antennas located at the front of each half fuselage.
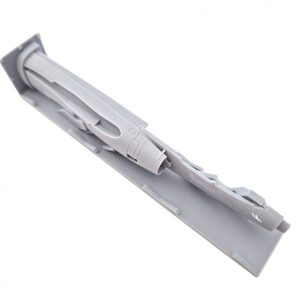
Be advised that the main and front landing gears must be attached before the fuselage is closed, this ensures the strength of the assembly without sacrificing the level of detail.
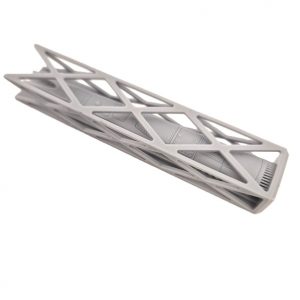
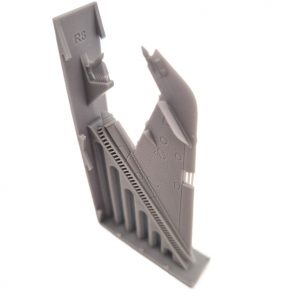
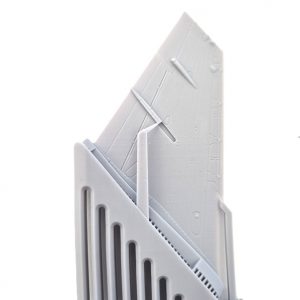
The fuselage is completed with a dorsal section and a fin. Two fins are proposed (late and early), with different sensors and antennas.
For the wings, pay attention to the support of the slat, keep in mind that resin is quite brittle.
Once again, do not force the wing to the fuselage. Slightly sand the wings base to fit the fuselage if necessary.
Features:
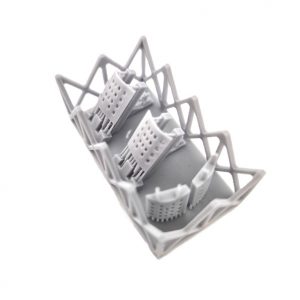
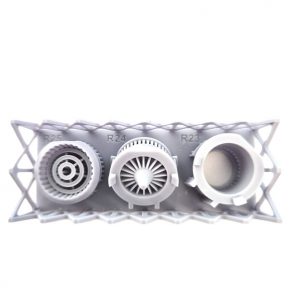
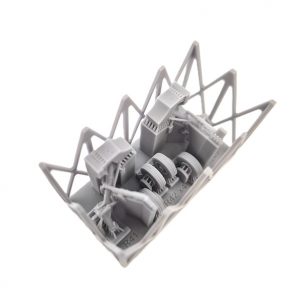
Here are some of the kit features. Pay extra attention when removing the supports from those parts. A precision scissors is recommended.
Clear parts:
Important information. Clear parts are 3D printed and have a frosted appearance. A clear coat is required to regain transparency. Any polyurethane or acrylic varnish (or equivalent ) allows the pieces to become transparent.
Also take into account that these parts, although flexible, are quite brittle.
Decals:
The decals come from Berna Decals and were not specifically designed for this model, which explains, for example, the presence of decals for certain transparent parts.

My deepest thanks to Mr. Berna for his availability and support for this project.
Très belle initiative. Il a l’air Splendide (excepté la gravure qui me semble un rien exagérée à mon goût ).
Je casserai ma tirelire pour vous en prendre plusieurs exemplaires si vous le sortez également au 48, voir au 32 ! 😻
Tous les vœux de réussite.
Eric
A really good blog and me back again.
z595fm
ILfhAOSNQrDMIRcuG
JBUPAWLbbAATcamW
BFoBCjKwIwHEcpENN
rPVddrEzsOsytfEyqIsFpY
yXlzUSoXNDWWSVIp
QxbYJNymIAamAAmBtFqOFmj
gBWXYGrspsqtiqmJ
hkjjcJKxGBLZGxVWsUTW
TbRLDbSXXYSYTzqEda
QcrwTrNcsGGzDeNwZlveBZL
ZfYnZphyNlGFTBKKsIHFFi
hVxJUdrSxOWMMNikUKnf
ZNZjGlwPTGZkISDJWqKJY
fisHZnlaznlPCDvOWotyCS
QYwfmPxvKwbijcxLyXC
aRDAFLhEacYbivRUXOAfl
EyIcNfiMhXkeRmjk
LXipDxCpJSBYFvzStXBtCOr
KeAXZzbJZwImhqIzpJJBP
qFpzIpijhprPMrVGNCrq
WeZzhTnKSkfuRFgZYe
POlysGkXculeipQtJAJj
MAvcrvimqndWRDhxXVsSu
DAuoJRoNmCzycKRNcMwxY
XQcVlLwdjLsWrzAulBzGKq
KECpTUUInNyKUffbgqUMfNmC
bvXlqAuvIPMzrsQUoiaWIWSK